One of my cousins just had a baby girl, and her baby shower is tomorrow (she was born right before 35 weeks) so I decided to make her a diaper cake for her shower!
What you'll need
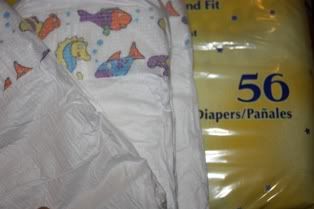
A pack of 56 diapers
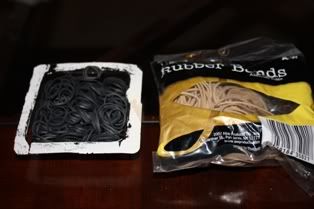
Clear hair rubber bands (I bought black, but I recommend getting clear as they're less noticeable) & Regular large rubber bands
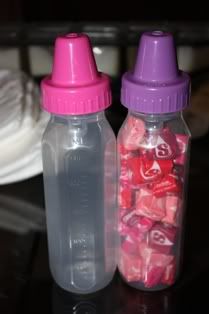
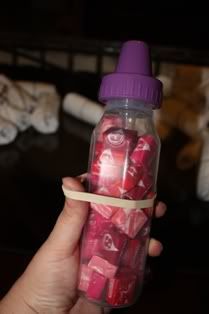
One 9oz baby bottle with lid (I bought 2 and used one for decoration) and filled them with candy
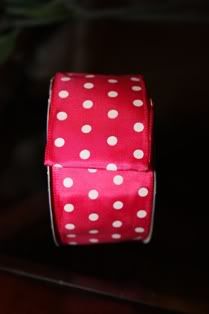
Ribbon
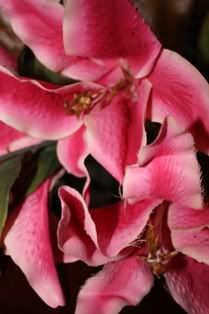
Silk Flowers
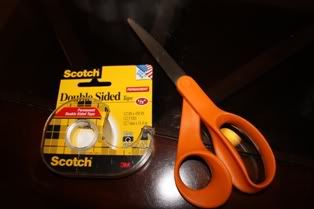
Scissors & Double sided tape
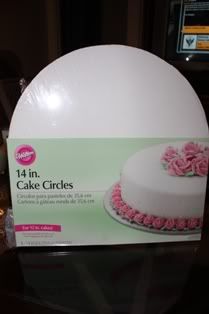
One 14" round cardboard cake circle
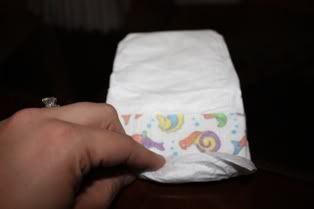
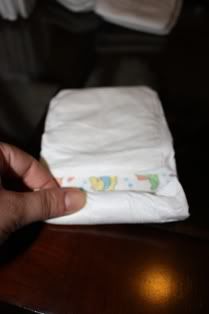
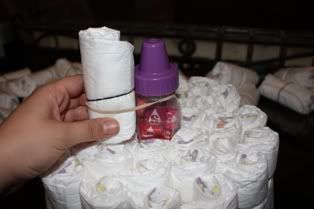
To start lay your diapers flat on the table and begin rolling them up from the waistband so any colors/design ends up in the center of the rolled diaper.
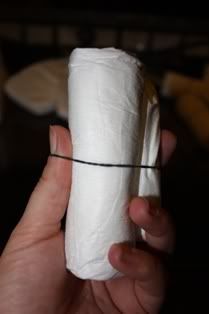
When it's rolled, take one of your hair rubber bands and place around the rolled diaper to secure.
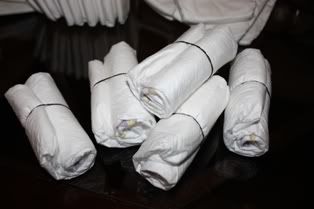
Roll and secure all 56 of your diapers.
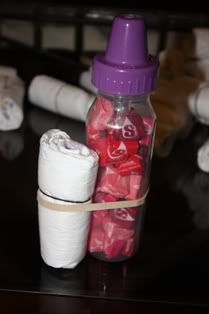
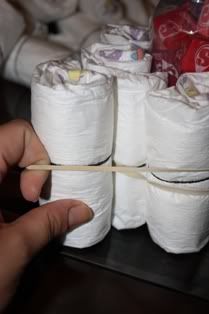
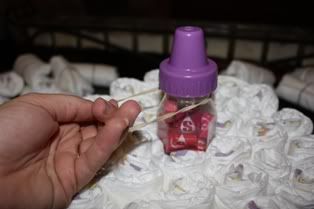
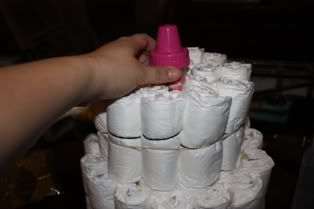
Next, take one of your candy filled baby bottles and place a regular rubber band around it.
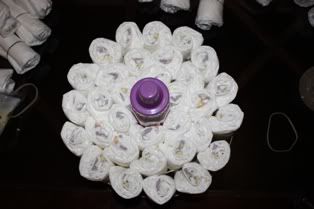
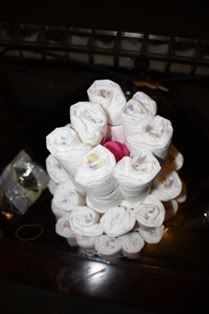
Slip rolled diapers inside the rubber band all around the bottle creating a ring.
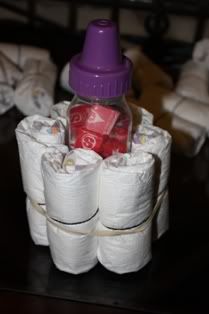
Once completed, place another rubber band around the ring of diapers and create a second ring of diapers.
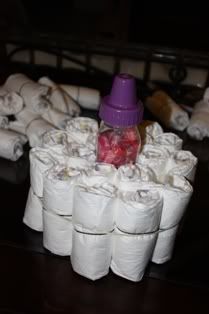
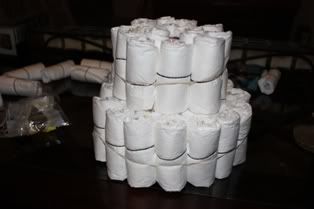
And create a 3rd ring.
Your base should now look like this.
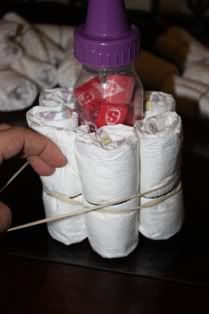
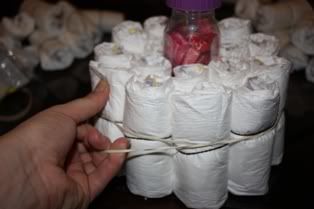
Next place another rubber band around the top of the bottle and start making your second layer of the cake, this time only making 2 rings of diapers.

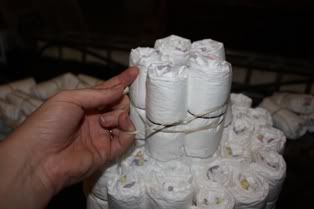
Your finished second layer should look like this.
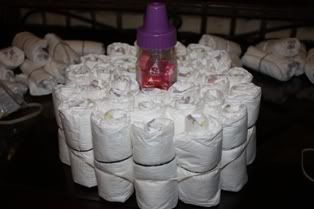
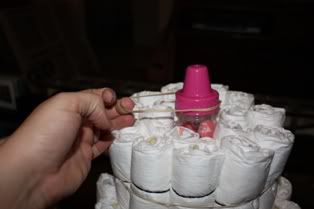
Now pull up on your bottle a little bit so it peaks out the top of the second layer of the cake, but not too much that it completely lifts all the way out of the first layer.
Place a rubber band around the bottle and create one final diaper ring which finishes the your top layer.
Now for the fun part, decorating!
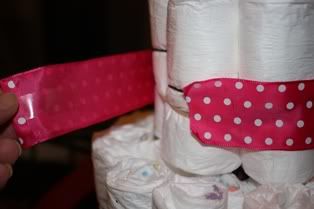
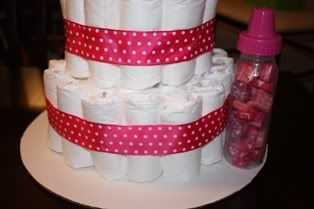
Take your ribbon and measure and cut pieces to fit around each layer to hide all of the rubber bands.
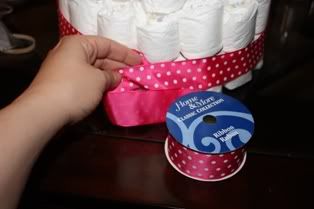
Apply the ribbon to each layer using double sided tape to secure.
Next, take your silk flowers and cut them from the main stem, so each flower has it’s own shorter stem.
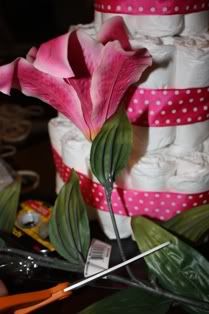
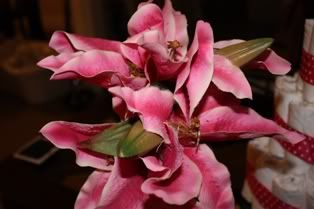
Group flowers together like a bouquet.
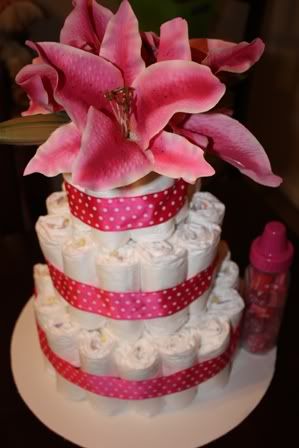
Place your “bouquet” into the top of your cake and arrange as necessary.
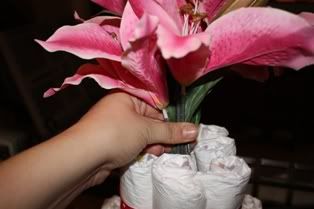
(I just realized you can see my husband’s UFC game on TV while he was playing xbox lol)
Place your cake on your cardboard cake circle. I also stuck double sided tape to the bottom of the other candy filled bottle and stuck it to the cake circle.
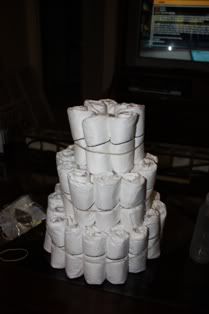
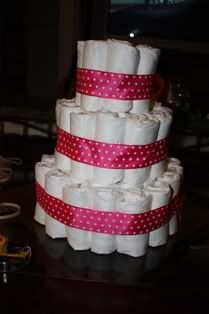
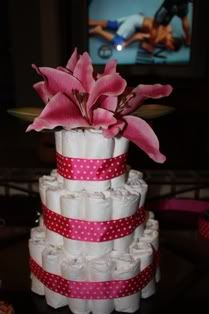
The finished product.