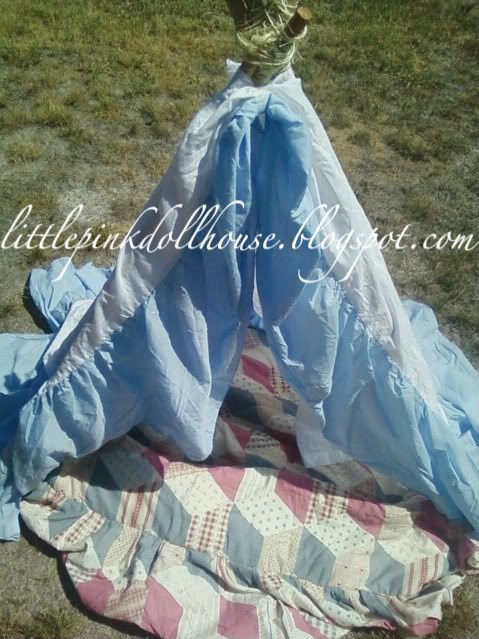
I'm spending my time lately crafting and creating for my photography business (aclemonsphotography.blogspot.com) and I wanted to share the sweet little tent I made for a little girl for one of my shoots I have coming up! Tutorial to come later! This was simple and cheap!
Wednesday, August 31, 2011
Tuesday, August 9, 2011
Need some love for your state?
Go check out my friend "Mrs T"s blog at Cookie Cutter Home for your chance to win a hand painted state-love painting! She has some great ideas on her blog and is super talented! Let her know I sent ya!
xoxo, Amy
xoxo, Amy
Saturday, August 6, 2011
Framed Initial
So we all know I love me some framed initials! Example
...well I guess for that matter I also love white spray paint hehehe...
...but come ON! How could you not!? It makes everything look so clean and uniform and modern...ahhhh sweet sweet peaceful white spraypaint... (yes I have problems)
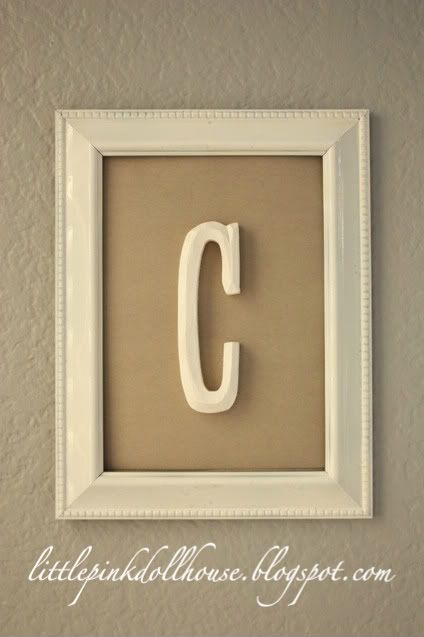
So I wanted to do a small framed initial for our last name... and since we are the C*coughcoughcough* Family ;) I did a "C".
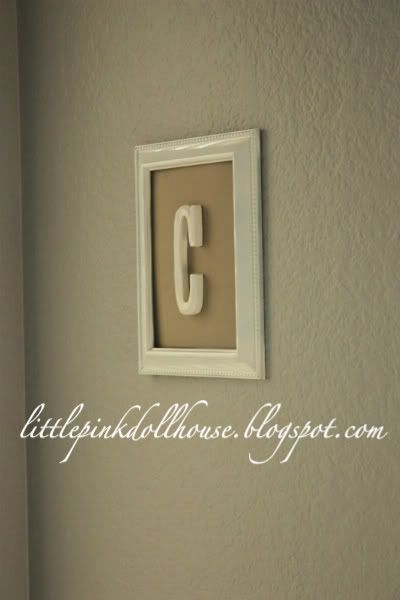
I am so in LURV! All I did was spraypaint an old frame I found at Goodwill (of course), spraypaint a wooden letter "C" I got from Michaels, stick some scrapbok paper in the frame and glue the letter in the center! Super easy and SUPER adorbs! :)
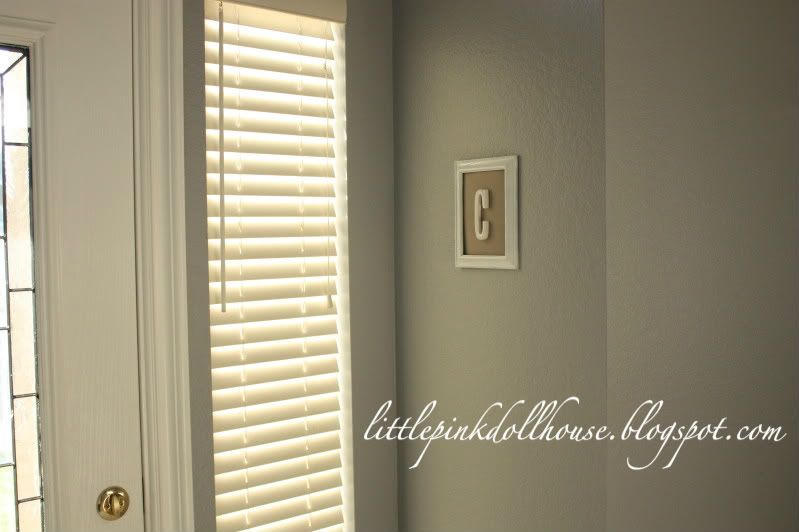
I hung him up right by my front door... I'm thinking I need a small white board with keyring hooks right underneath it. What do you think?
Labels:
Decor,
Entryway,
Gift Idea,
Spraypaint
Thursday, August 4, 2011
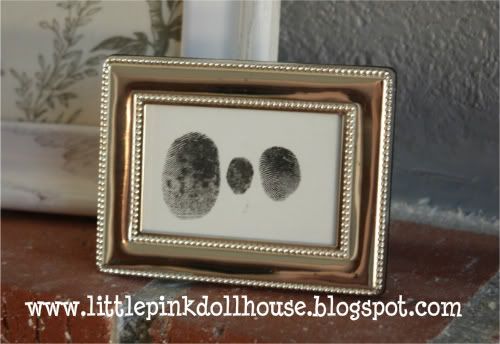
Family Framed Thumbprints
Saturday, July 30, 2011
Dining room lighting
So in our new house over our dining room table we have this light/fan contraption that I'm pretty sure is haning by a thread...when the fan is on the whole thing's a-movin'! I will have to post a picture of it later (or a video for that matter hehe) but the hubbs and I are trying to pick out some new lighting... I'm kinda digging this beauty from Ikea!
It's totally neutral, will match our couches in the next area spot on and will go well with our grey/white/yellow and wood colors going on in our casa! Posting it here to remember! I think I'm liking it! Going to search a little bit more just to be sure!
Sunday, June 5, 2011
Striped Accent Wall
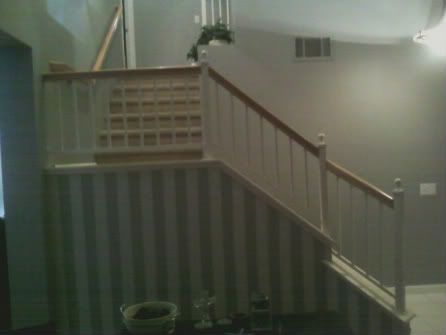
I have been wanting to do something to the small wall under my stairs in my front room for quite a while and finally got off my booty last week and did it! I had originally thought about doing a repeat stencil and then decided on clean light gray on medium gray stripes!
My little wall before... (don't judge that tiny cluttered table thing lol, I am still unpacking boxes and that's where it stays right now)
Then I started taping off my lines...be sure to do this right the first time, and take the time to measure exactly or else you will be screwed...I speak from experience ;)
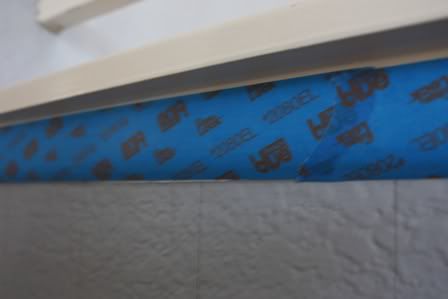
Here's the tips to getting suuuper clean non bleeding stripes...(which I thought I was too good for and have to do a few touch ups still oops!)
1. Paint wall the color you want...all one color (mine was already painted Behr's Gray Timber Wolf)
2. let dry completely
3. Measure and tape off your lines
**4. Here's the secret: Paint over the edges of your tape the same color that is already on the walls (ex: I would use Gray Timber Wolf) you do this to seal the tape to the wall and so the color that bleeds under the tape (because it will if you have textured walls) is the same color that is already on the walls!
5. let that dry a bit and then paint over it the color you want your stripes and remember to always pull your tape before it completely dries so you don't risk pulling off dried paint in chunks.
And VoilĂ !
Sorry about the crappy pic. Taken with my cell. But man oh man I am in luuuuuurve!!
My little wall before... (don't judge that tiny cluttered table thing lol, I am still unpacking boxes and that's where it stays right now)
Then I started taping off my lines...be sure to do this right the first time, and take the time to measure exactly or else you will be screwed...I speak from experience ;)
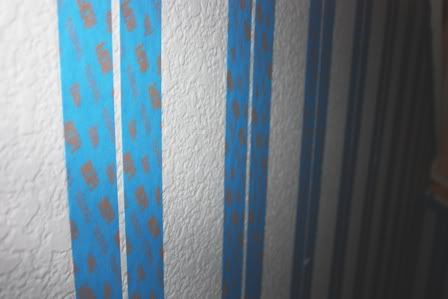
Here's the tips to getting suuuper clean non bleeding stripes...(which I thought I was too good for and have to do a few touch ups still oops!)
1. Paint wall the color you want...all one color (mine was already painted Behr's Gray Timber Wolf)
2. let dry completely
3. Measure and tape off your lines
**4. Here's the secret: Paint over the edges of your tape the same color that is already on the walls (ex: I would use Gray Timber Wolf) you do this to seal the tape to the wall and so the color that bleeds under the tape (because it will if you have textured walls) is the same color that is already on the walls!
5. let that dry a bit and then paint over it the color you want your stripes and remember to always pull your tape before it completely dries so you don't risk pulling off dried paint in chunks.
And VoilĂ !
Sorry about the crappy pic. Taken with my cell. But man oh man I am in luuuuuurve!!
Labels:
Before n After,
front room,
paint,
stairs,
stripes
Friday, May 27, 2011
Simple Bathroom Mirror Upgrade
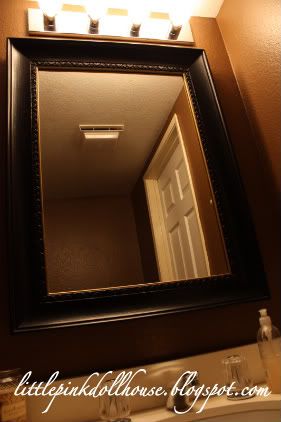
Our downstairs powder room is tiny. It had ond of those mirrors that just slapped up against the wall with a couple screws around the outsides holding it on. It wasn't very cute...it wasn't necessarily "ugly" but it just was doing nothing for me. So we painted the room a dark chocolate brown and hung up the mirror that used to be in our old apartment in our dining room and I think it looks so pretty now!
BEFORE:
AFTER:
BEFORE:
AFTER:
Labels:
Bathroom,
Before n After,
mirror,
Powder room
Thursday, May 26, 2011
I am in looove with Pinterest! Click here to follow me! http://pinterest.com/clemonsgirl/
If you don't have Pinterest you should totally check it out. It makes it super easy to keep track of all the pictures around the web that inspire you in some way!
There is like a super long wait list if you want to get on, but psst, just for being my blog follower, if you leave your email in the comments of this post I'll send you a direct invite! Do it, I swear you will be obsessed!
Kitchen Lights Before & After
Hubby and I bought our first house back in December for our new little bambino! Well I'm finally getting around to posting some of the projects we've already had done here (and there will be loads more to come!)
We wanted to re-do the kitchen lights since they were those uuuugly and I mean UGLY fluorescent lights! This is the only picture I have of the before...this was when we were still in escrow...look up lol
yuck-mo
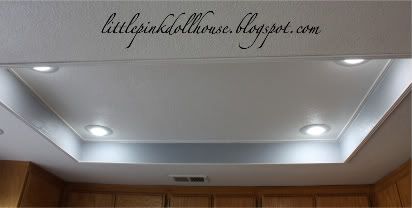
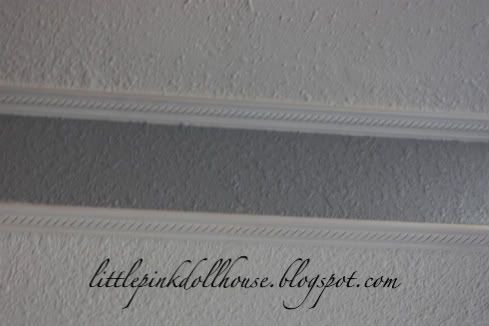
we pulled them out of there and noticed we had a beautiful recessed ceiling under them! We had our contractor cut some holes and rewire some recessed lighting in there and had him paint the inner wall the same gray color we were painting our entire downstairs! We also added some decorative moulding around the outside edge and around the inside edge and woooah mama, talk about an upgrade!
Closeup of the detail:
love love love love LOOOVE!
Tuesday, May 24, 2011
Anniversary gift
What kind of girl gets excited about getting a hand saw, a miter box and a home depot gift card for her anniversary...*points to self* this girl...ohh yeah!! decorative moulding aisle here I come! I'm a rare breed!
Monday, January 24, 2011
I am obsessed with white spray paint
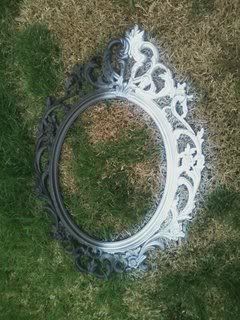
It makes everything look better! I got this giant frame from Ikea a couple years ago. It was black and had stuff inside it. Well I took it apart, spray painted it in my favorite shade of white and hung just the frame in my son's nursery with his first initial in it. Simple and awesome!
During transformation lol
After
LUUUURVE!
During transformation lol
After
LUUUURVE!
Labels:
Before n After,
nursery,
Spraypaint
Subscribe to:
Posts (Atom)