Sorry I have been absent for so long!
I plan on being back in action with alot of new projects for Spring!
Since spring is right around the corner, I've been wanting to bring a little bit of it inside our apartment and cheer the place up!
I've had these old throw pillows on our couches for sometime now and I've been pretty bored of them lately, so I decided to jazz them up a bit!
Here's what I used:
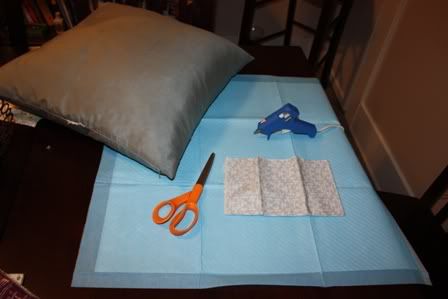
- my old throw pillow
- scissors
- hot glue gun
- fabric
- and a puppy potty pad (which I use as a padded work space to protect my table).........don't judge.
Now, on to making the rosettes...
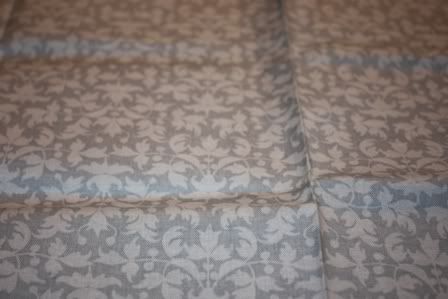
Lay your fabric out flat
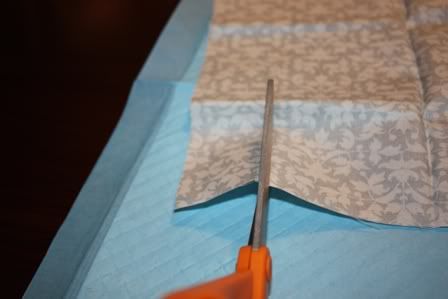
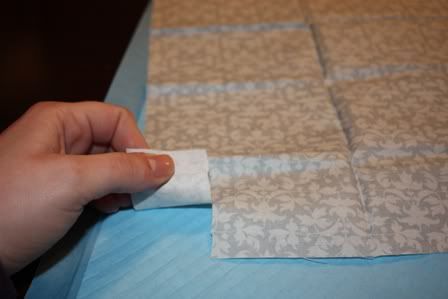
About 2 inces from the edge of your fabric cut a little slit
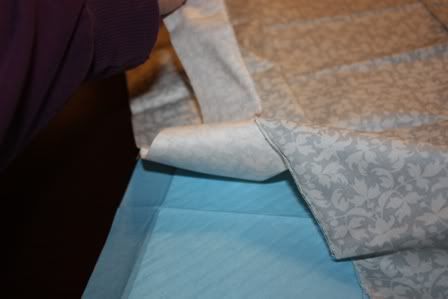
Now grab hold of both sides of your cut
And rip it!!
Don't worry about trying to keep things straight, just pull equally hard on both sides and it will always rip in a straight line! (This also feels really good to do if you're P-Oed about something!)
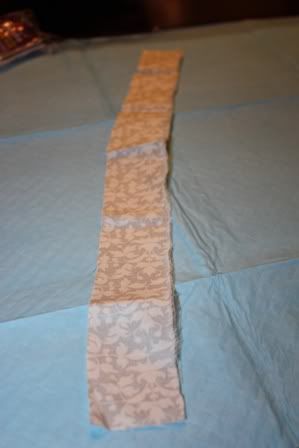
Here's what you end up with
Now the lenth of your fabric strip will determine how big around your rosette ends up...the length of mine wasn't long enough for me so I just hot glued 2 strips together.
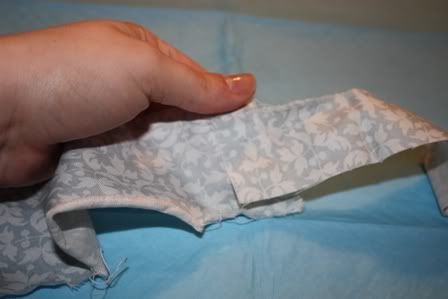
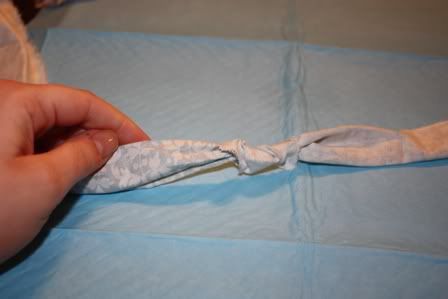
Once that cooled and dried I tied a knot where the 2 strips were glued, and that acts as the center of your rosette. (If you don't need to glue 2 strips together, then knot your fabric in the dead center of your strip)
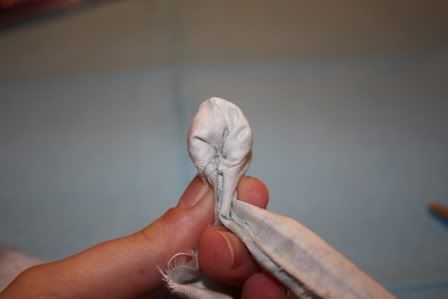
Pinch the 2 sides of the knot together and glue them together so you end up with the knot on top and the 2 fabric "tails" side by side.
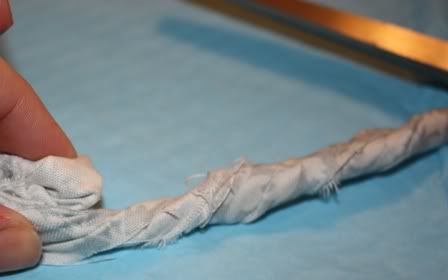
Start twisting your tails together and wrap them around the knot, gluing to secure as you go
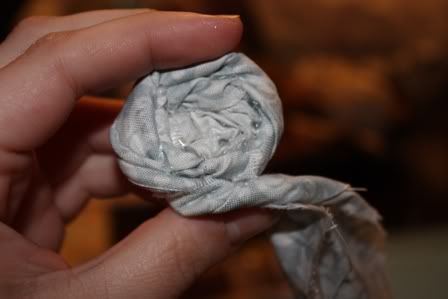
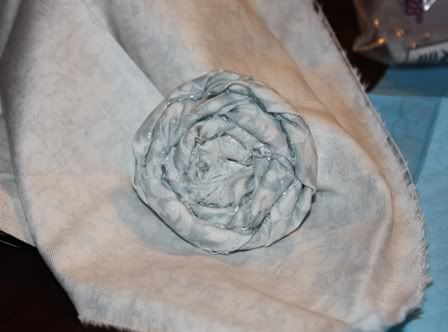
Keep winding and gluing until all of your tail is secured to the rosette.
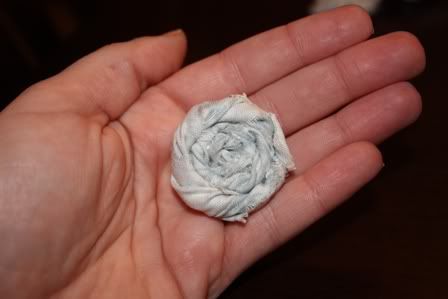
Here is what you end up with
Soooo cuuuuute!!
About this time in the project feel your pant leg being pulled from below the table and.......err......wait a minute! This isn't part of my tutorial....oh Harley!
And take your dog out to use the bathroom...this step is of course optional.
GETTING BACK TO IT!
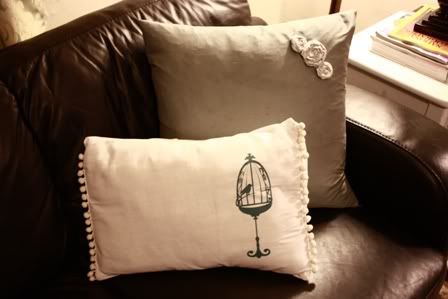
I ended up making the bigger one with 2 strips glued together, and I made 2 smaller rosettes with only one strip of fabric.
Then I just glued them where I wanted them on my throw pillow and voila!
Beautiful! I loved it so much, I made one for my barstool!
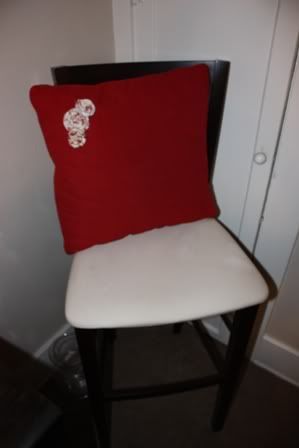
LUUUUURVE




No comments:
Post a Comment