Showing posts with label Gift Idea. Show all posts

Saturday, August 6, 2011

Framed Initial


So we all know I love me some framed initials! Example


...well I guess for that matter I also love white spray paint hehehe...


...but come ON! How could you not!? It makes everything look so clean and uniform and modern...ahhhh sweet sweet peaceful white spraypaint... (yes I have problems)

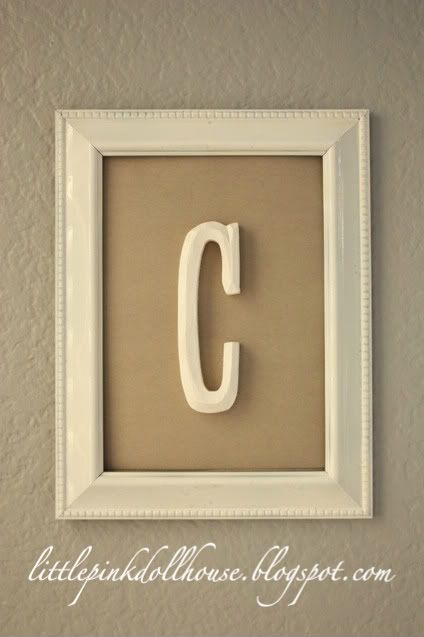
So I wanted to do a small framed initial for our last name... and since we are the C*coughcoughcough* Family ;) I did a "C".


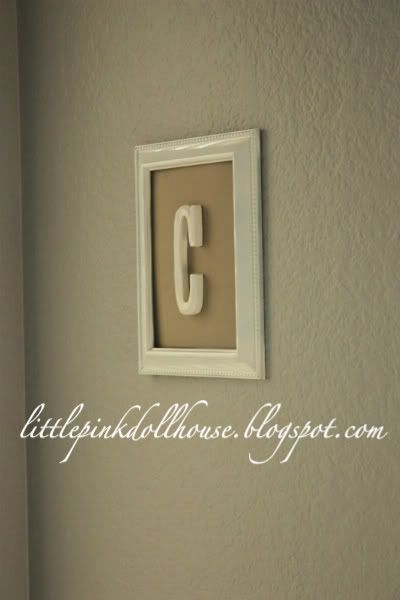
I am so in LURV! All I did was spraypaint an old frame I found at Goodwill (of course), spraypaint a wooden letter "C" I got from Michaels, stick some scrapbok paper in the frame and glue the letter in the center! Super easy and SUPER adorbs! :)


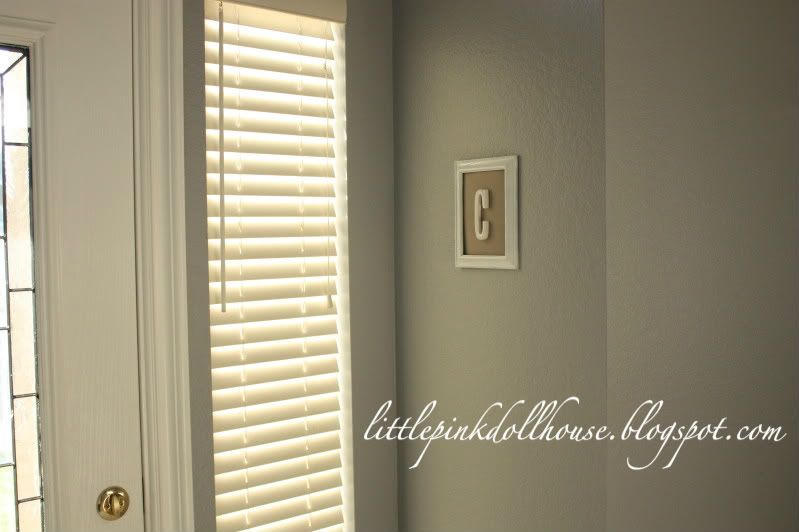
I hung him up right by my front door... I'm thinking I need a small white board with keyring hooks right underneath it. What do you think?


Monday, October 5, 2009

Fabric on Canvas

Just a quick and easy idea for old scraps laying around... I took an old canvas I had painted on back in college, some fabric I wasn't going to use for anything and my staple gun and just "reapholstered" if you will, the canvas.

Photobucket
Photobucket
Photobucket

Easy! Make sure you pull and staple really tight so you don't have any wrinkles in the fabric. How cute would these look in some sort of toile print!?!?

Monday, September 14, 2009

Mod Podge is Love

I'm starting to make my own gift boxes and just wanted to share my latest one.

Starting with a plain cardboard box from Michaels...

Photobucket

...Mod Podge, foam brushes and an exacto knife (not pictured)

Photobucket

I first used my exacto knife and went thru the Sunday LA Times and cut out the comic strips individually in their single cells...

Photobucket

I then applied my mod podge to the lid of the box and started applying the comic cells one by one and putting a coat of mod podge over each one. Once finished I let it dry for about 30 minutes and then applied another layer of mod podge for extra gloss. I also Spray painted the bottom of the box black and ended up with the CUTEST gift/decorative box

Photobucket
Photobucket

EVERYONE I know will be getting their birthday/Christmas presents inside these for the next year at least!

Saturday, August 22, 2009

Diaper Cake Tutorial

One of my cousins just had a baby girl, and her baby shower is tomorrow (she was born right before 35 weeks) so I decided to make her a diaper cake for her shower!

What you'll need

A pack of 56 diapers
Photobucket

Clear hair rubber bands (I bought black, but I recommend getting clear as they're less noticeable) & Regular large rubber bands
Photobucket

One 9oz baby bottle with lid (I bought 2 and used one for decoration) and filled them with candy
Photobucket

Ribbon
Photobucket

Silk Flowers
Photobucket

Scissors & Double sided tape
Photobucket

One 14" round cardboard cake circle
Photobucket


To start lay your diapers flat on the table and begin rolling them up from the waistband so any colors/design ends up in the center of the rolled diaper.
Photobucket
Photobucket

When it's rolled, take one of your hair rubber bands and place around the rolled diaper to secure.
Photobucket

Roll and secure all 56 of your diapers.
Photobucket

Next, take one of your candy filled baby bottles and place a regular rubber band around it.
Photobucket

Slip rolled diapers inside the rubber band all around the bottle creating a ring.
Photobucket
Photobucket

Once completed, place another rubber band around the ring of diapers and create a second ring of diapers.
Photobucket
Photobucket
Photobucket

And create a 3rd ring.
Photobucket
Photobucket

Your base should now look like this.
Photobucket

Next place another rubber band around the top of the bottle and start making your second layer of the cake, this time only making 2 rings of diapers.
Photobucket
Photobucket
Photobucket
Photobucket

Your finished second layer should look like this.
Photobucket

Now pull up on your bottle a little bit so it peaks out the top of the second layer of the cake, but not too much that it completely lifts all the way out of the first layer.
Photobucket

Place a rubber band around the bottle and create one final diaper ring which finishes the your top layer.
Photobucket
Photobucket
Photobucket

Now for the fun part, decorating!

Take your ribbon and measure and cut pieces to fit around each layer to hide all of the rubber bands.
Photobucket

Apply the ribbon to each layer using double sided tape to secure.
Photobucket
Photobucket

Next, take your silk flowers and cut them from the main stem, so each flower has it’s own shorter stem.
Photobucket

Group flowers together like a bouquet.
Photobucket

Place your “bouquet” into the top of your cake and arrange as necessary.
Photobucket
Photobucket
(I just realized you can see my husband’s UFC game on TV while he was playing xbox lol)

Place your cake on your cardboard cake circle. I also stuck double sided tape to the bottom of the other candy filled bottle and stuck it to the cake circle.
Photobucket

The finished product.

Photobucket